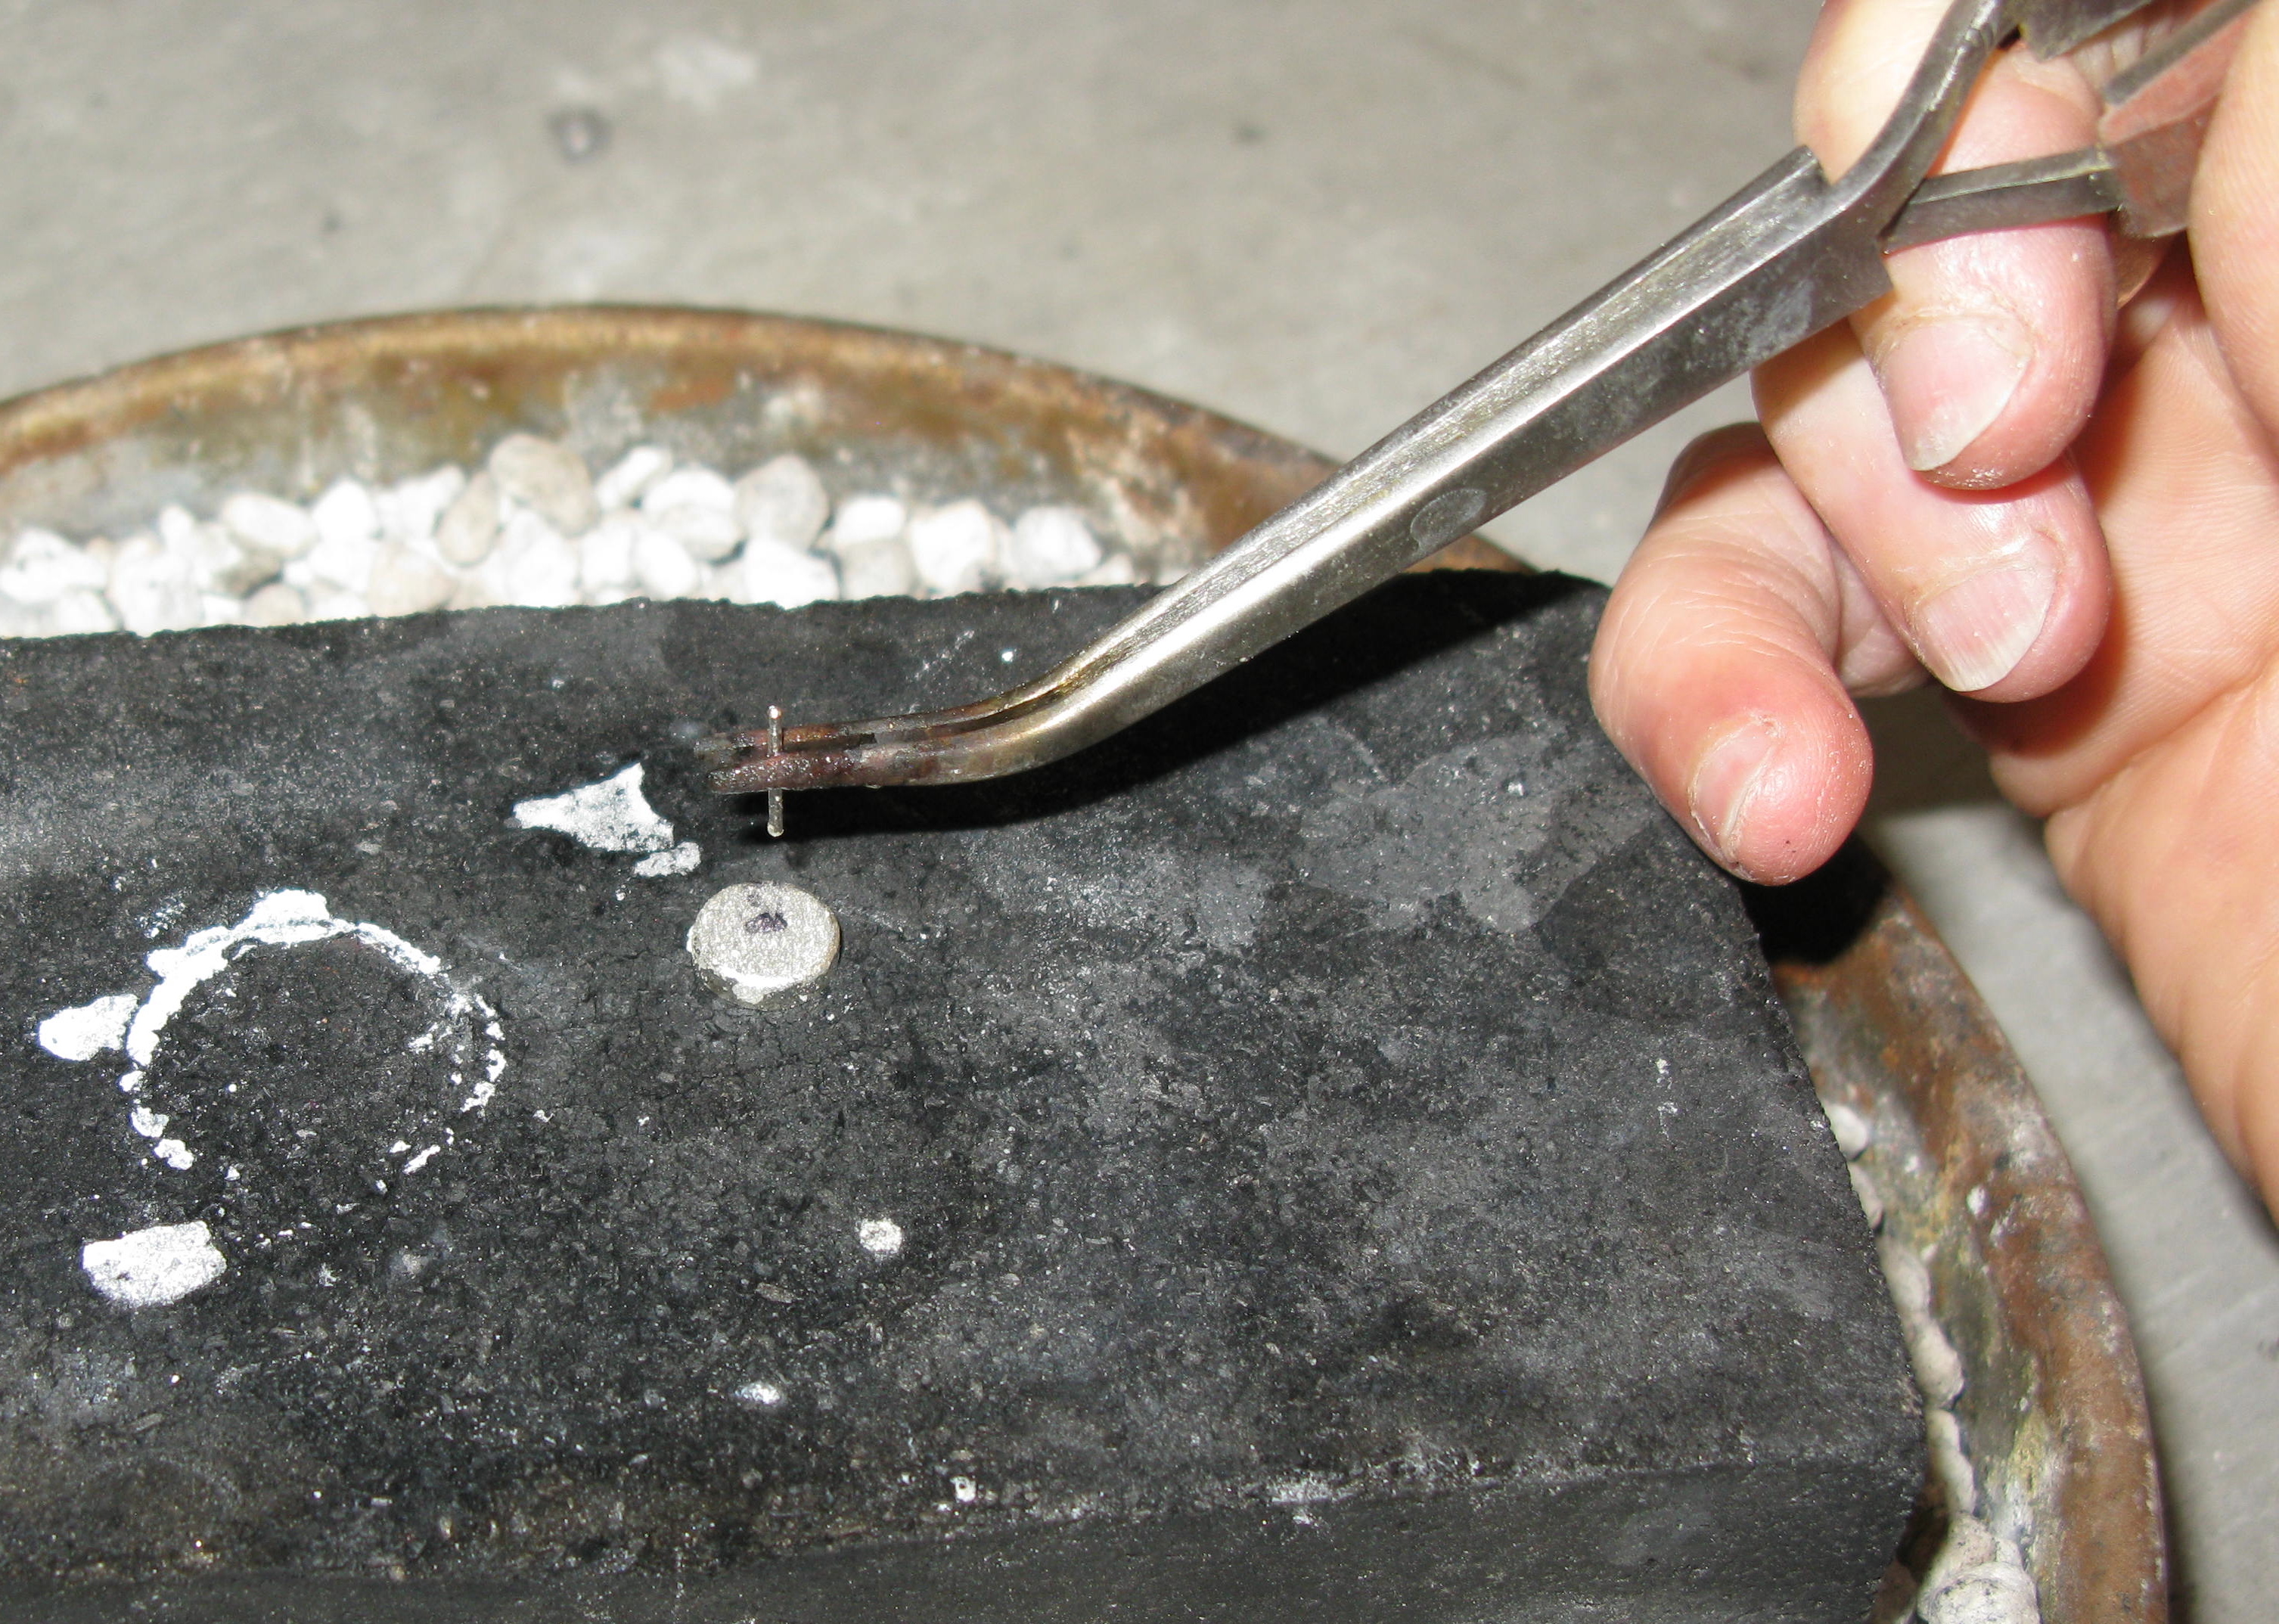
The first is to draw a dot with a Sharpie on the piece where the post or wire is to be soldered. Then flux is applied. Although the flux will first obscure the dot when the flame makes it crusty, the dot will then show as the piece is heated. Although it will ultimately burn away, it provides a focal point for perfect aim and placement of the post. Once the piece is hot enough---generally around when the ink is gone--the solder flows where the post or wire is set down on the dot spot. This is especially helpful when working on domed pieces and with multiples while doing production work. The placement is spot (dot!) on.
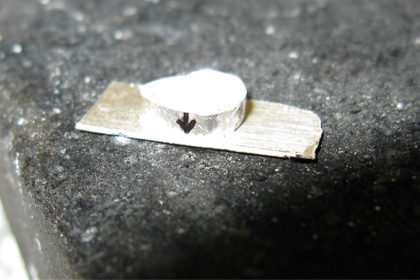
The second and third tips help for good and accurate bezel attachment to a backing. The bottom of the bezel is sanded while being held gently on wet/dry sandpaper. This helps to ensure a level and splayed bottom, making for a bit more surface area under which solder will flow and hold the bezel to the base.

The next step, and so simple yet so many people, especially beginners, don’t do it and mistakenly solder the bezel to the base upside down. Just draw a little arrow pointing down towards the bottom immediately after the bottom is sanded. With moving to the soldering station, getting things set up, and then placing the bezel onto the base, one can easily know that the bezel is positioned properly—right side up and right side down.